________________________________________________________________________________
John Deere 2305 Tractor Specs Overview

John Deere 2305 Tractor Engine
Model - Yanmar 3TNV76
Type - Diesel
Gross Horsepower - 17.9 kW (24.0 hp)
PTO Horsepower - 13.4 kW (18 hp)
Cylinders - Three
Rated Engine Speed - 3000 rpm
Operating Range - 1170 - 3170 rpm
Oil Filter - Standard Single Element
Air Cleaner - Dry Type, Two Stage
John Deere 2305 Tractor Transmission
(Drivetrain)
Type - 2 Range Hydrostatic
Number of Speeds - Infinite
Mechanical Front Wheel Drive (MFWD) - Standard
MFWD Capability - All Ranges
MFWD Engagement - On The Go
Final Drive Spur Gear
Rear Axle Maximum Load - 670 kg (1477 lb)
Front Axle Maximum Load - 750 kg (1654 lb)
Electrical System
Type - 12 Volt
Battery Size 500 Cold Cranking Amps -18C
Alternator - 20 amp
Front Wheels and Tires
Standard - 18x8.5-10 R4
Optional - 18x8.5-10 R3
Rear Wheels and Tires
Standard - 26x12.00-12 R4
Optional - 26x12.00-12 R3
Fluid Capacities
Fuel Tank - 21 L (5.5 gal)
Cooling System - 3.2 L (3.4 qt)
Crankcase with Filter - 3.2 L (3.4 qt)
Transmission and Hydraulic System - 13.0 L (3.4 gal)
Front Axle - 2.5 L (2.6 qt)
Ground Speeds
Forward and Reverse - Range High 0-13.3 km/h (0-8.3 mph)
Forward and Reverse - Range Low 0-6.6 km/h (0-4.1 mph)
JD 2305 Tractor Dimensions
Wheelbase - 1450 mm (57.1 in.)
Overall Length with 3-point Hitch - 2605 mm (102.6 in.)
Overall Width (Miinimum) - 1140 mm (44.9 in.)
Front (Only Wide Position Recommended) - 1005 mm (39.6 in.)
Rear - 853 mm (33.6 in.)
Ground Clearance - Front Axle 195 mm (7.7 in.)
Weight - Machine equipped with a ROPS, 3-point hitch, standard R4 tires
and all fluids. - 846 kg
3-Point Hitch
Type - Limited Category 1
Lift Capacity-61 cm (24 in.) behind link arms - 309 kg (681 lb)
Lift Capacity-at link link ends - 650 kg (1433 lb)
Checking John Deere 2305 Tractor PTO
Driveshaft
- Install driveshaft on implement.
- Install implement on tractor. Do not install driveshaft on tractor.
- Check the fully shortened position of the driveshaft.
- Push the driveshaft in to its shortest length by hand.
- Check the area where the outer tube shield meets the shield bell.
- If the outer tube shield does not touch the shield bell, make a mark
on the inner tube where the outer tube shield ends.
- Install driveshaft on JD 2305 Tractor and adjust the center
link to level the implement for operating while in lowered position.
- Have an observer stand a safe distance from the implement to tell you
when the driveshaft is fully shortened.
- Set the John Deere 2305 Tractor at low idle and raise the implement,
stopping when the observer sees the outer tube shield reach the mark on
the inner tube, or the outer tube shield touches the shield bell.
- If the implement is fully raised, and the driveshaft does not reach
the fully shortened position, with either the outer tube shield at the
mark or touching the bell shield, the driveshaft is ready for operation.
- If the driveshaft reaches the fully shortened position before the
implement is fully raised, the driveshaft will need to be shortened.
Shortening the PTO Driveshaft:
- Remove 25mm (1 in.) from the ends of the driveshaft and the ends of
the shield tubes.
- Check driveshaft length again, and shorten further if needed.
John Deere 2305 Tractor Rear and Mid
Power-Take-Off (PTO)
PTO operation for this machine is not intended to be used when the
operator is off the seat. The safety interlock system will stop the
engine and all implements if the PTO is operating and the operator
leaves the seat.
Engaging the JD 2305 Tractor PTO:
- Move the 2-speed range lever to the N position.
- If the operator leaves the seat with the engine running and the PTO
engaged, the safety interlock system will stop the engine and all
implements.
- Start the engine.
- Set engine speed to 1500 rpm or less.
- Move the PTO control lever to desired operating position: Mid PTO
only/Mid and Rear PTO/Rear PTO only.
- Pull PTO switch knob up to the engaged/on position.
- Adjust the hand throttle lever forward to the desired speed for the
implement used.
- Mid PTO speed will be 2100 rpm at the 540 PTO marker on the
tachometer.
- If PTO shuts off during use, turn off engine and push down to turn off
PTO switch. Lock park brake. Allow engine to cool. Check coolant level
and add coolant if necessary. Clean debris away from radiator cooling
fins. Sit on seat, and start engine. Pull PTO up to on position.
John Deere 2305 Tractor Rear Hitch
The rear hitch plate provides a single fixed mounting position for
towing.
Certain heavy equipment such as a loaded single-axle trailer can place
excessive strain on the hitch. Strain is greatly increased by speed and
rough ground.
Do not exceed 255 kg (562 lb) maximum static vertical load on the rear
hitch at position.
Locking Out Dual SCV Regen Function
It may be necessary to prevent the dual SCV lever from moving to the
full right or “regen” position when operating some implements.
- Remove right rear wheel.
- Move joystick back and forth to access locking pin on L-shaped bracket
on the front of the selective control valve (SCV).
- Remove locking pin, and L-shaped bracket from pins.
- Flip L-shaped bracket (A) inverted, and install back onto pins, as
shown.
- Install locking pin.- Install wheel. Tighten wheel bolts to 88 Nm (65
lb-ft).
Attach Loader on John Deere 2305
Tractor
Attach Loader Operation:
- Align masts with mounting frames.
- Engage tractor parking brake and place transmission in PARK.
- Shut off tractor engine and remove key.
- Move control lever(s) back and forth and side-to-side (if applicable)
several times.
- Make sure hoses are routed through hose guide, as shown.
- Hose connections are identified by matching the color-coded cap on the
hose end with the same color-coded plug on the control valve coupler.
- John Deere 2305 Tractor: Route hoses above mounting frames and through
hose guide.
- Connect hoses using color-coded dust caps matching numbers and colors
on decal by coupler plate.
- It may be necessary to drive tractor forward slowly to keep
masts/frames in line while performing the following procedures.
- Be sure bushing on mounting frame is aligned with notch in masts.
- Start tractor engine.
- Release parking brake and/or place John Deere 2305 Tractor
transmission in NEUTRAL.
- Make sure masts are fully seated on mounting frames.
- Slowly retract lift cylinders. Masts will lower onto mounting frames
and parking stand will raise up below weight bracket.
- Dump bucket 10—20° and retract lift cylinders until loader masts move
back and latches lock over mounting frame bushings.
- Extend lift cylinders and lift bucket from ground to ensure loader is
properly mounted.
- Add appropriate ballast.
- Engage tractor parking brake and/or place transmission in PARK.
- Shut off tractor engine and remove key.
I have a 2305 the currently will drive forward and reverse but the MMM
lift 3 point and PTO will not work. Does anyone here have an idea what
it could be? Just pulled the suction strainer out and found 6 ball
bearings. Tractor will drive but the 3point and the mower lift along
with the PTO will not work. 3 point hitch will not even move.
Absolutely nothing happens engine does the not bog when PTO is engaged.
The hydraulic system consists of two circuits powered by the same pump
through a divider valve. The divider valve directs 45% of the hydraulic
oil to the steering circuit, which also supplies oil to the PTO clutch,
and charge pressure to the hydrostatic pump. The remaining 55% of the
hydraulic oil powers the implement circuit, which powers the rockshaft
and the SCV valves. With that now known we can more effectively find the
source of your problem. Even though you can drive, it can still be your
main pump. The main pump DOES provide charge pressure to the hydro pump
BUT it is possible for it to drive. I don’t know how far for how long
but it will sometimes drive. An easy check. With all lines disconnected
from the scv quick connects, move the joystick. If it doesn’t bog for a
second before going into relief, then you have no pressure from your
pump.
I have a 2305 John Deere with 145-hrs on it. Love this tractor and
haven’t had one issue with it. Lately, the trottle won't stay at the set
RPM I put it at without falling down. It will stay at full throttle but
won't stay at less than that, it drops down to idle. Have any of you had
this problem? If so what do I need to do to make it like it was new
again? I suppose over time the trottle has just become less and less
"tight" per say due to up and down use. I see the two nuts and will
adjust them. Do you know what they do? The cable runs through a braked
with a nut on each side then through the throttle assembly. Do the nuts
just keep tension on the cable? If so the cable does have a small amount
of play when it is in the idle position, say a1/4" or so before it
engages the RPM's.
I have the same issue, mostly when I'm doing stuff not at full throttle,
but today the vibrations of the tiller kept pushing the RPM's down had
to keep pushing the throttle back up. My 2305 throttle was too stiff, so
I raised gauge panel and partially removed right side cowling that
surrounds throttle lever shaft enough to get wrenches on tension nut.
I have a JD 2305 with a 62" mmm. Problem is when mowing over uneven
terrain and the deck floats up on the left side, the PTO shaft at the
gear box grinds against the brake linkage pin inside the frame rail.
could it just be out of alignment or worn pivot points?
I too have a 2305 with an older serial number that would qualify IF I
was using the 62C deck. In checking the solution number with my dealer,
I'm told that the problem only surfaced with the 62C deck, not the 54C.
For those folks like myself who have the 54C deck, this should not be a
problem. In fact, in checking my linkage, I find that all is OK.
I got my tractor last weekend and first few hours out, got the
inevitable stick in the fan thing happening. Looks like you can get the
drive shaft off if you remove the snap-ring and then drive out the roll
pins. Has anyone ever attempted this? Being that it's newer, I'm hoping
rust won't garner lots of 4-letter-speak in the garage. For those that
have replaced the fan, easiest and most effective method? Thoughts on
cutting the blade in two and then putting back on the drive shaft? I
will definitely replace by spring and will have some sort of guard on it
by then. I've heard from people about folks with years on their 2305
running a brush mower before having this happen. My dumb luck it
happened right away.
There is a bushing, or bar that holds the mid mount mower that needs to
be removed. The transmission shaft is now easily accessible. Dave then
took the drive shaft apart at the knuckle joint closest to the fan. He
removed c-clamps, punched out two bushings and the shaft dropped down
and he was able to access the fan bolts and he replaced the fan.
I have been having problems with my mower lift mechanism on my 2305 JD.
I have the standard mechanical lift that operates using the 3pt hitch
arms. The problem I have is that the lift arm barely contacts the mower
lift bracket. Half the time it slips off and doesn’t lift it. I have the
factory rod in place in the 3pt hitch but it still doesn’t work. Has
anyone else had this problem? I was worried my lift bracket is bent but
it doesn’t look like it is.
The problem is simple. The 3PH arm that is supposed to do the lifting is
either loose or is positioned too far to the right. I think you
mentioned that you have the rod (which separates the 2 arms of the 3-pt
hitch)? If so, then with the deck lowered - so there is no pressure on
the 3ph arms, try moving the 2 connected 3ph arms left and right, and
see if you have any slack. You should have next to no-slack. If you can
move the arms around, you need to tighten the 2 turnbuckles on the 3ph
arms, to tighten them up. It is also possible that the rod you have that
separates the 2 arms, is too short - thus keeping the arms "snug" but
too close together. Try pulling the pins out of the rod, to separate the
2 arms, and see if you can move the left-hand-side 3ph arm any further
to the left than the position it normally is in with the rod in place.
Bottom line - the 3ph arm on the left side, should be as far left as it
can go. The 2 turnbuckles and the rod is what accomplishes that.
________________________________________________________________________________
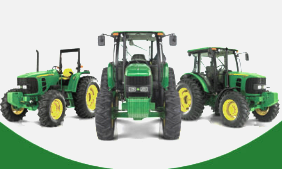 JD SPECS
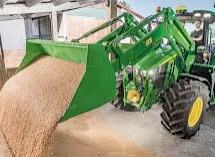 JD LOADERS
 JD MAINTENANCE
 JD INSTRUCTIONS
 JD PROBLEMS
________________________________________________________________________________________
 JD 2025R
 JD 3039R
 JD 4044R
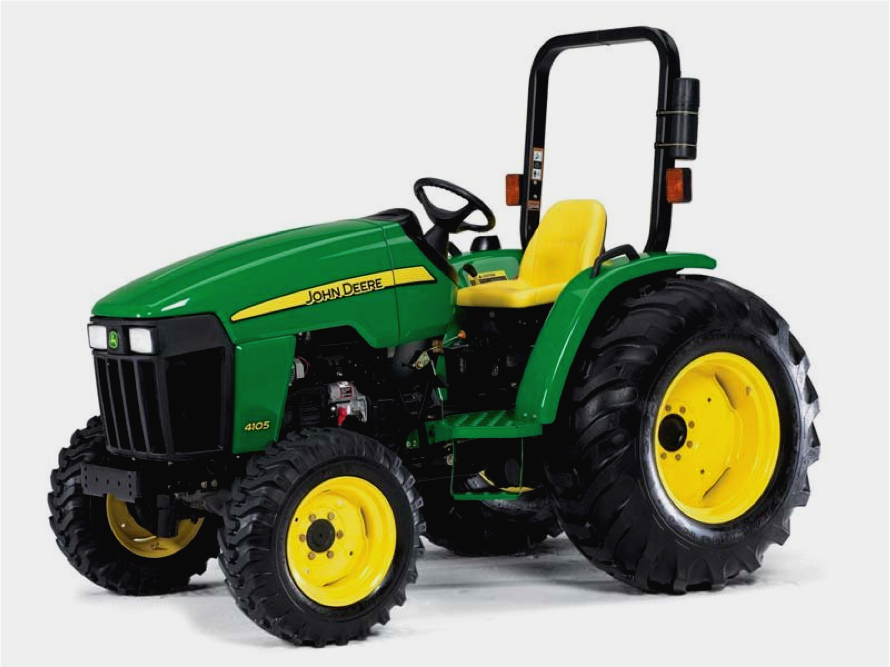 JD 4105
 JD 4720
________________________________________________________________________________________
 420 Loader
 419 Loader
 510 Loader
 512 Loader
 520 Loader
________________________________________________________________________________________
_______________________________________________________________________________________
 520M Loader
 540M NSL
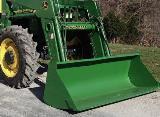 540 Loader
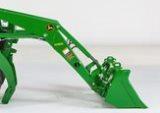 440R Loader
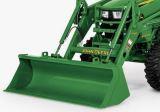 H180 Loader
________________________________________________________________________________________
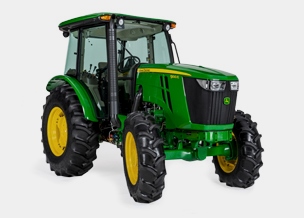
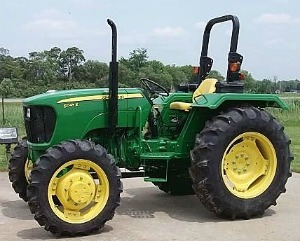 JD 5045E
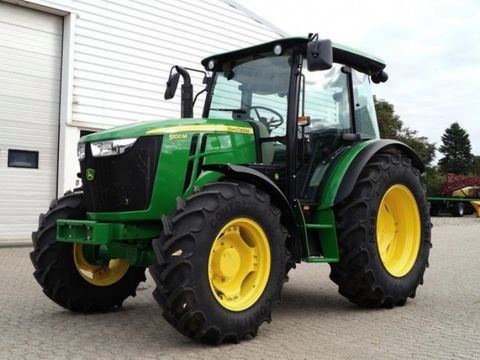
 JD 5085E
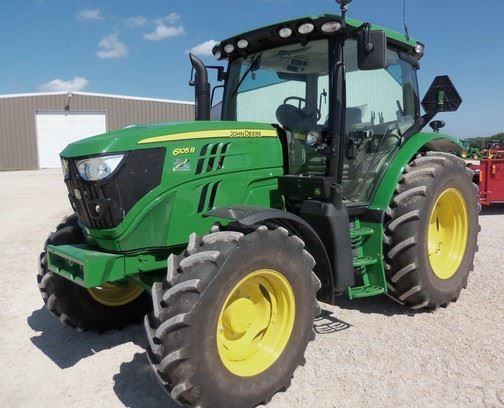
 JD 5100M
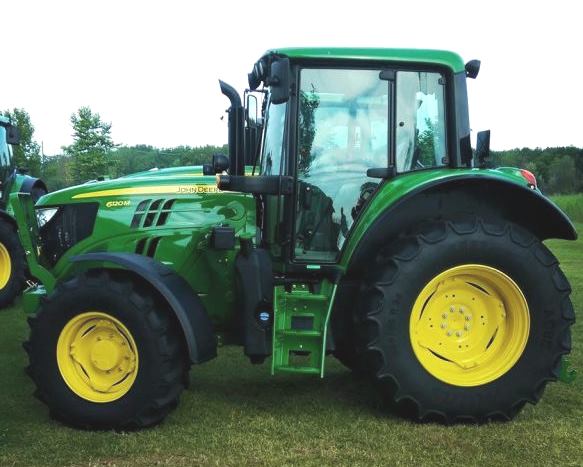
 JD 6105R
 JD 6120M
________________________________________________________________________________________
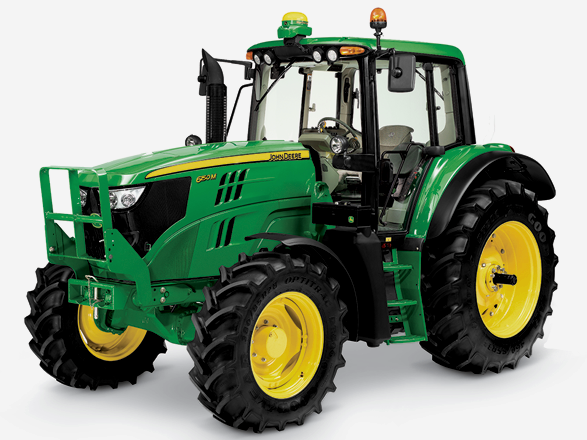 JD 6155M
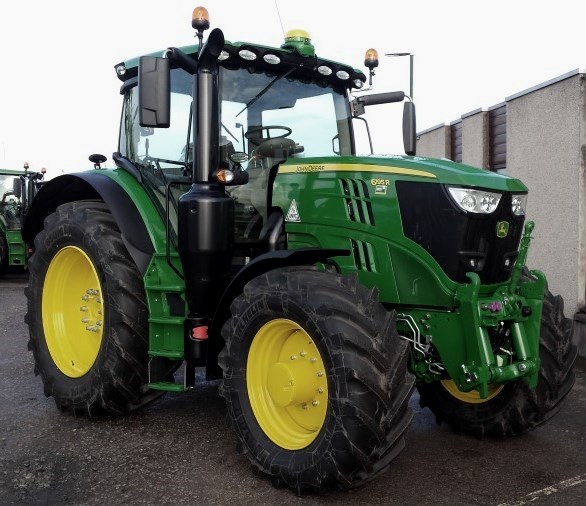 JD 6195R
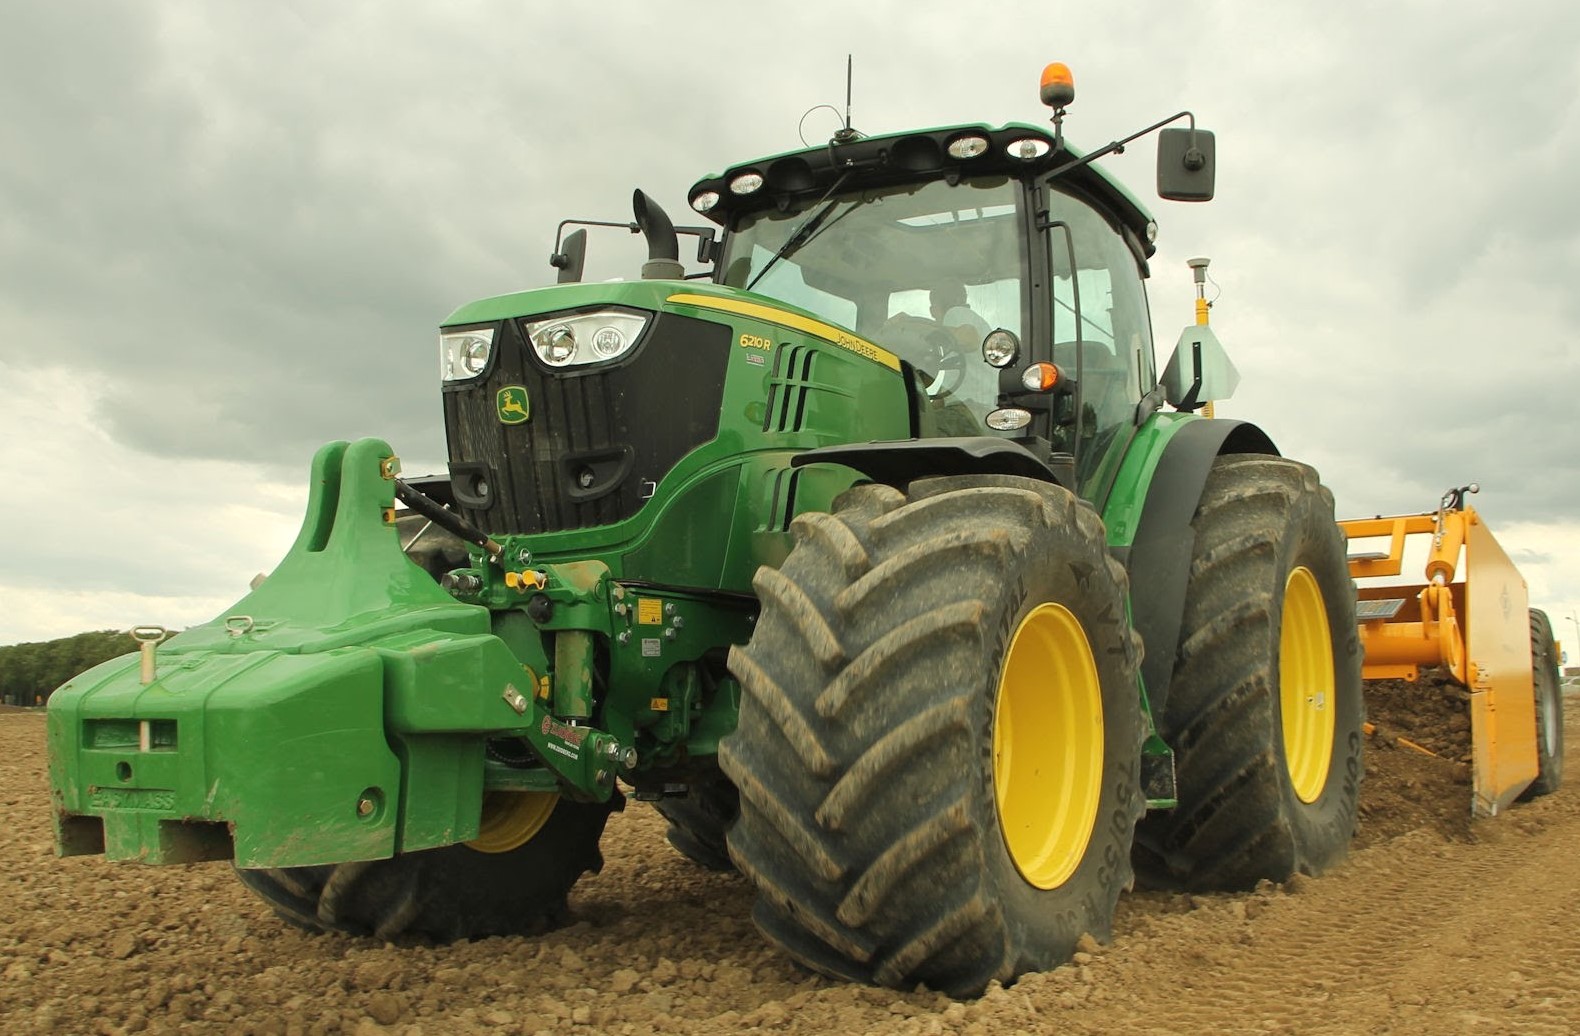 JD 6210R
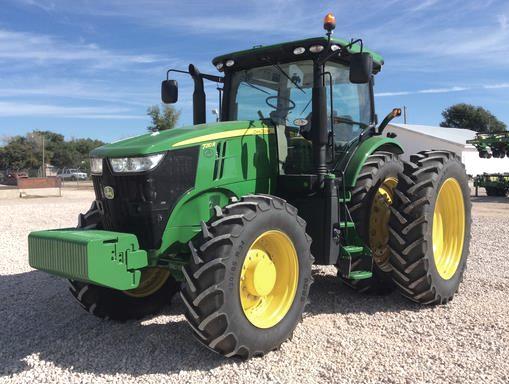 JD 7210R
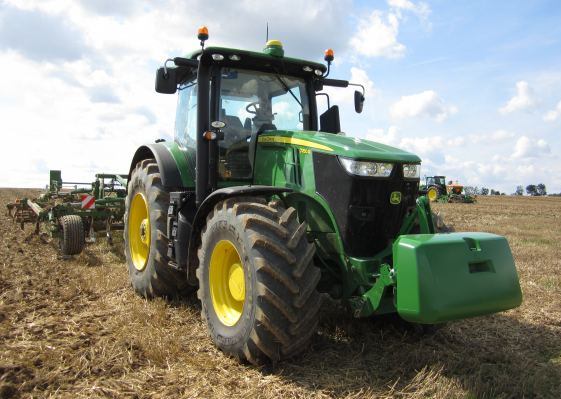 JD 7250R
________________________________________________________________________________________
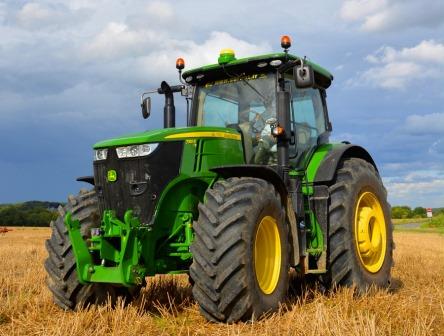 JD 7310R
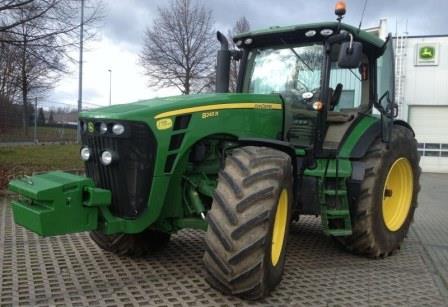 JD 8245R
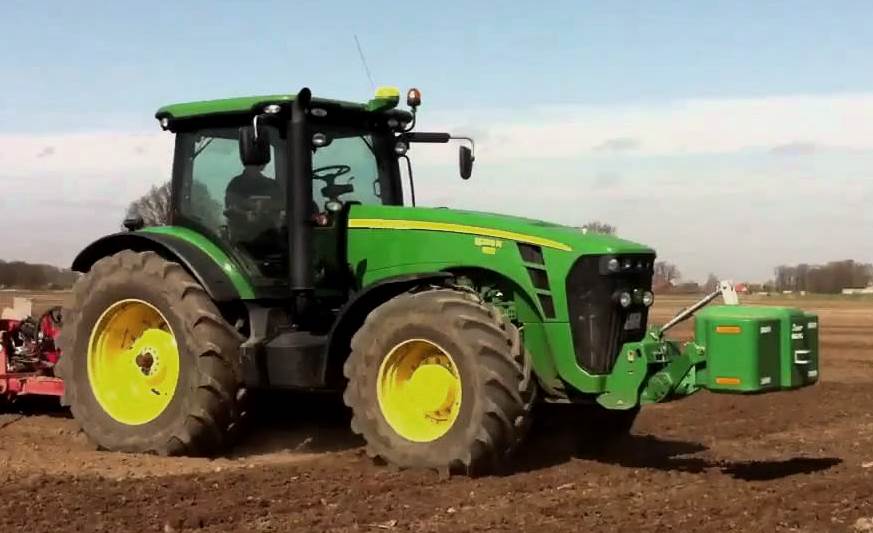 JD 8295R
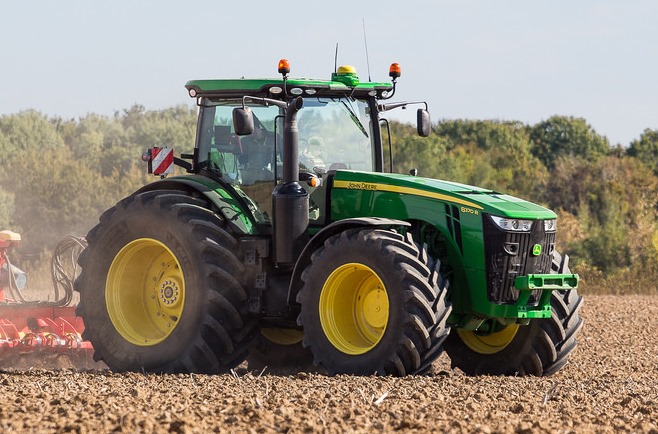 JD 8370R
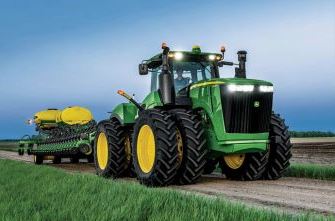 JD 9370R
________________________________________________________________________________________
 120R Loader
 D120 Loader
 H120 Loader
 45 Loader
 200CX Loader
________________________________________________________________________________________
 D160 Loader
 D170 Loader
 H160 Loader
 H165 Loader
 H240 Loader
________________________________________________________________________________________
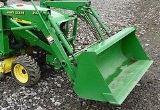 210 Loader
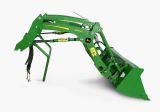 220R Loader
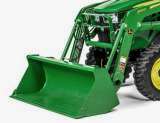 300E Loader
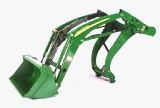 300X Loader
 300CX Loader
________________________________________________________________________________________
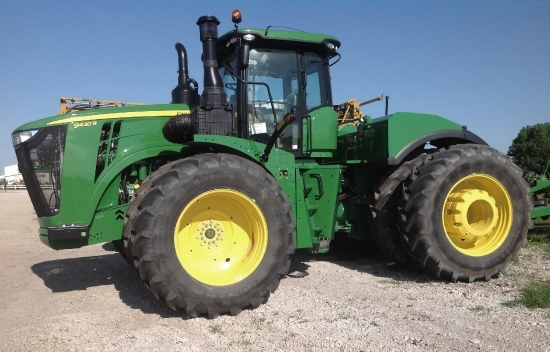 JD 9420R
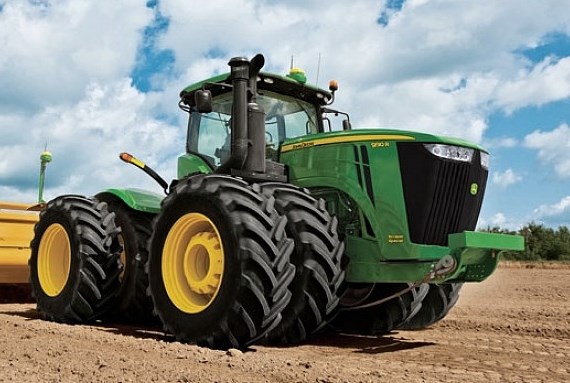 JD 9510R
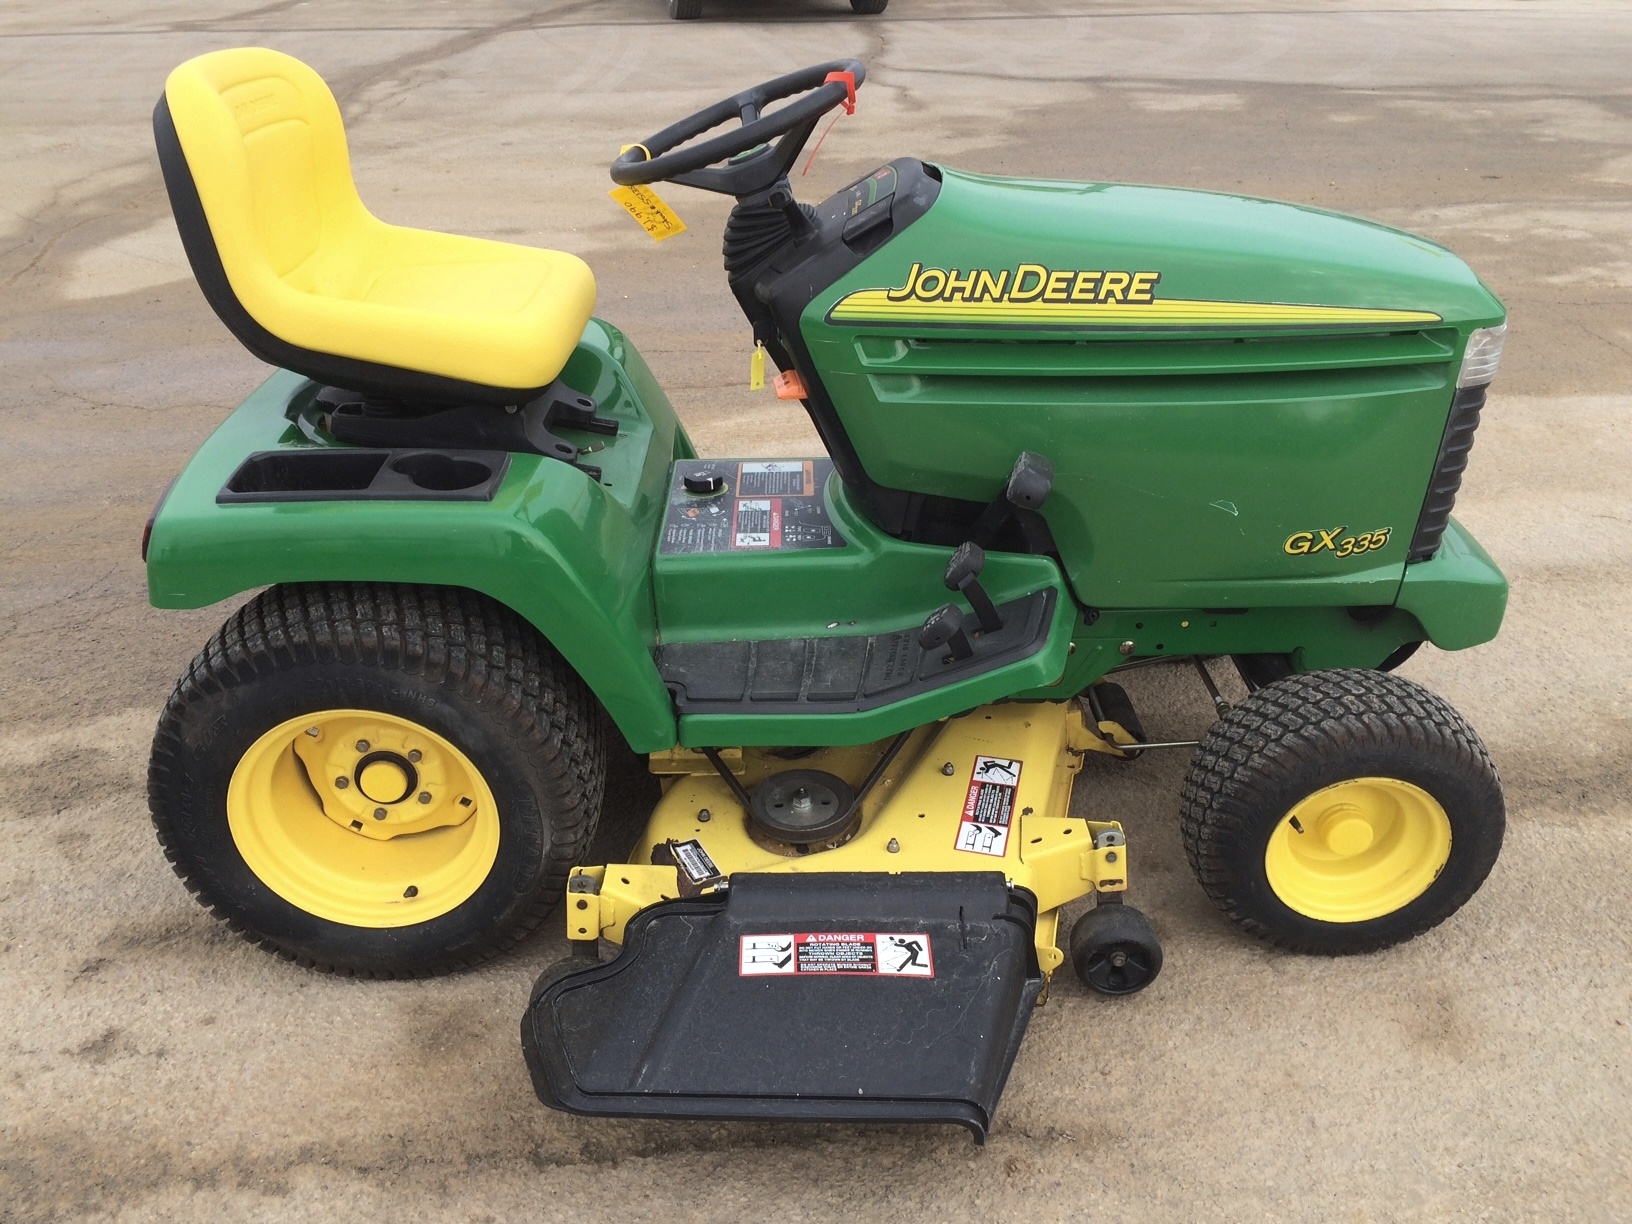 JD GX335
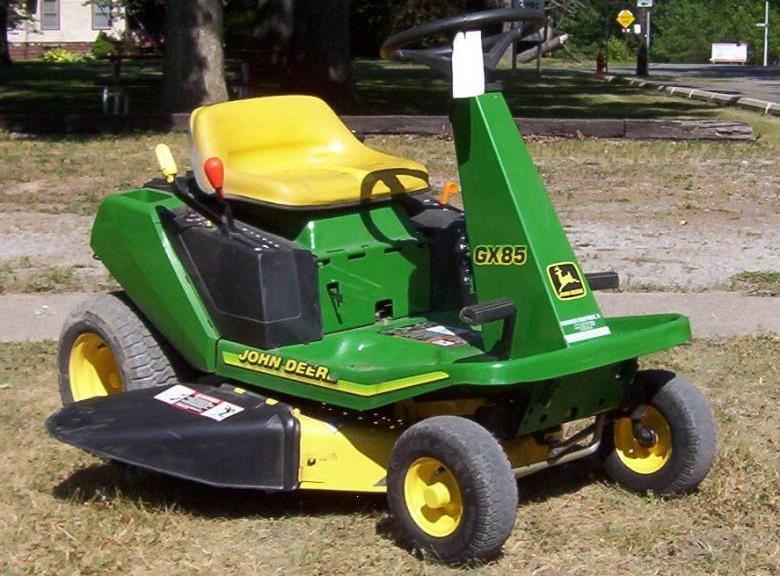 JD GX85
 JD LA105
________________________________________________________________________________________
 JD 5065M
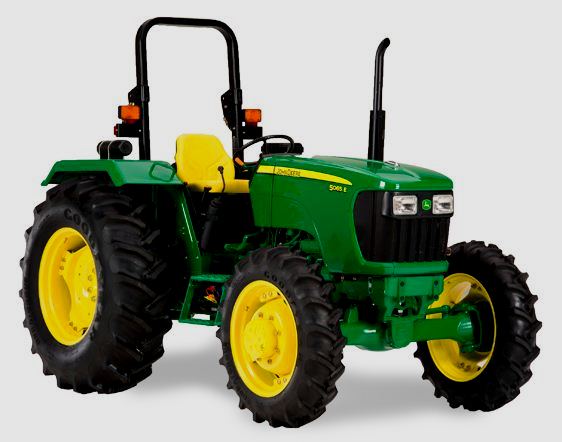 JD 5055D
 JD 5115R
 JD 5105M
 JD 6110R
________________________________________________________________________________________
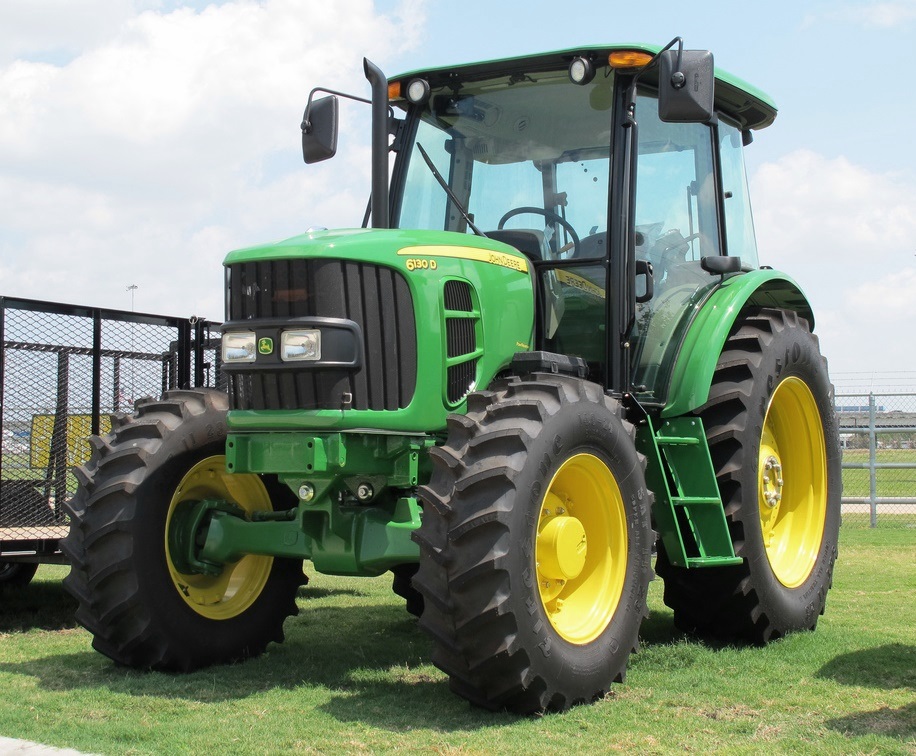 JD 6130D
 JD 6225
 JD 7530
 JD 4044M
 JD 7185J
________________________________________________________________________________________
 300 Loader
 300R Loader
 320R Loader
 400E Loader
 410 Loader
________________________________________________________________________________________
 430 Loader
 460 Loader
 521 Loader
 531 Loader
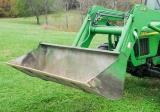 541 Loader
________________________________________________________________________________________
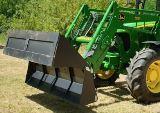 551 Loader
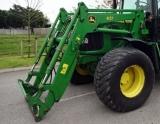 631 Loader
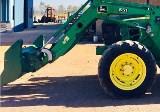 651 Loader
 661 Loader
 603R Loader
________________________________________________________________________________________
 JD D130
 JD D160
 JD 325
 JD 335
 JD 345
________________________________________________________________________________________
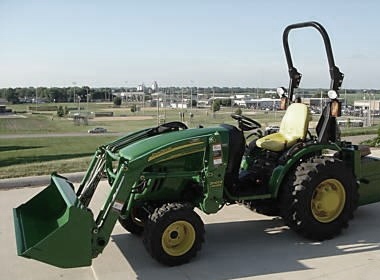 JD 2520
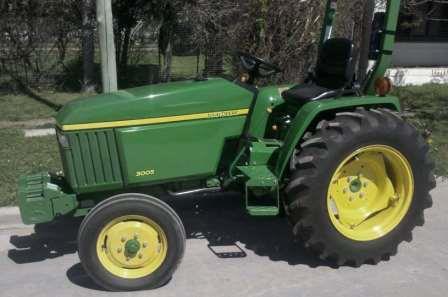 JD 3005
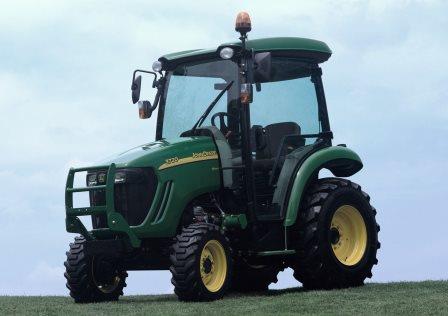 JD 3720
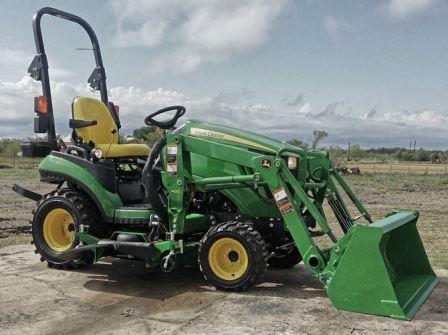 JD 1025R
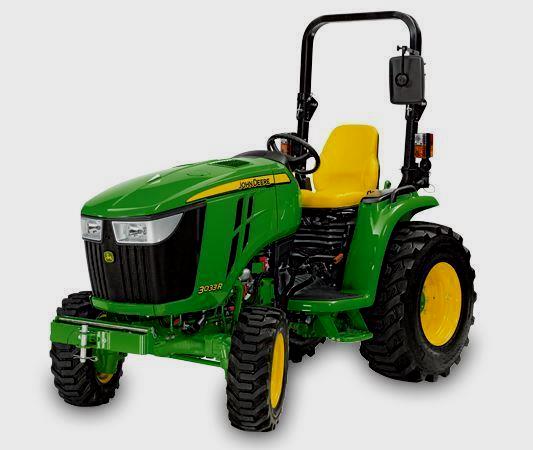 JD 3033R
________________________________________________________________________________________
 JD 5090EL
 JD 5100MH
 JD 5075GV
 JD 6090RC
 JD 6110B
________________________________________________________________________________________
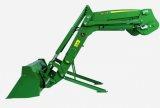 623R Loader
 643R Loader
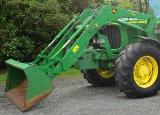 731 Loader
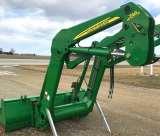 746 Loader
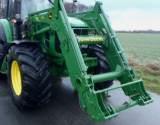 751 Loader
________________________________________________________________________________________
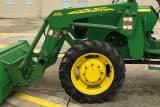 533 Loader
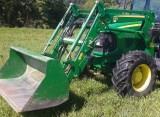 583 Loader
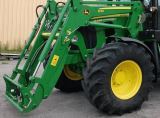 633 Loader
 653 Loader
 683 Loader
________________________________________________________________________________________
 H260 Loader
 663R Loader
 663 Loader
 683R Loader
 753 Loader
________________________________________________________________________________________
 JD 6125J
 JD 6150RH
 JD 6210J
 JD 7195J
 JD 8310
________________________________________________________________________________________
 JD 6325
 JD 5525
 JD 5083EN
 JD 5100GN
 JD 5125R
________________________________________________________________________________________
 210C Backhoe
 300D Backhoe
 310G Backhoe
 410G Backhoe
 710G Backhoe
________________________________________________________________________________________
 80 Loader
 100 Loader
 146 Loader
 148 Loader
 158 Loader
________________________________________________________________________________________
 168 Loader
 175 Loader
 522 Loader
 542 Loader
 540R Loader
________________________________________________________________________________________
 562 Loader
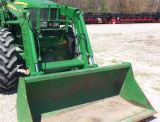 563 Loader
 673 Loader
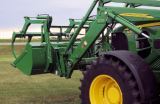 741 Loader
________________________________________________________________________________________
 L108 Automatic
 L120 Automatic
 LA110 Automatic
 LA120 Automatic
 LA150 Automatic
________________________________________________________________________________________
 LT155
LT155 LT160 Automatic
 LT180 Automatic
 LTR180
 X165
X165________________________________________________________________________________________
 E100
E100 E120
E120 E150
E150 LTR166
________________________________________________________________________________________
 LA135
LA135 LA165
LA165 LX277
LX277 LX288
LX288 LX255
LX255________________________________________________________________________________________
 S240
S240 GT235
GT235 G110 Automatic
 JD 3203
 JD 5520
________________________________________________________________________________________
 JD 316
 JD 420
 JD 425
 JD 445
________________________________________________________________________________________
 JD_5050D
 X300
X300 X304
X304 X310
X310 X110 Automatic
________________________________________________________________________________________
 H310 Loader
 H340 Loader
 H360 Loader
 H380 Loader
 H480 Loader
________________________________________________________________________________________
 240 Loader
 245 Loader
 260 Loader
 265 Loader
 280 Loader
________________________________________________________________________________________
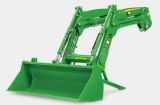 600R Loader
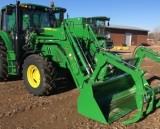 620R Loader
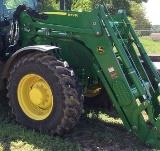 640R Loader
 660R Loader
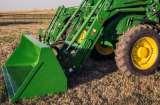 680R Loader
________________________________________________________________________________________
 JD_5039D
 X146R
X146R X360
X360 X155R
X155R X140 Automatic
________________________________________________________________________________________
 X350
X350 X380
X380 X500
X500 X590
X590 X700
X700________________________________________________________________________________________
 3036E
3036E 2038R
2038R 3038R
3038R 4049M
4049M JD 4100
________________________________________________________________________________________
 X738
X738 X740
X740 X748
X748 X749
X749 X950R
X950R________________________________________________________________________________________
 JD 4510
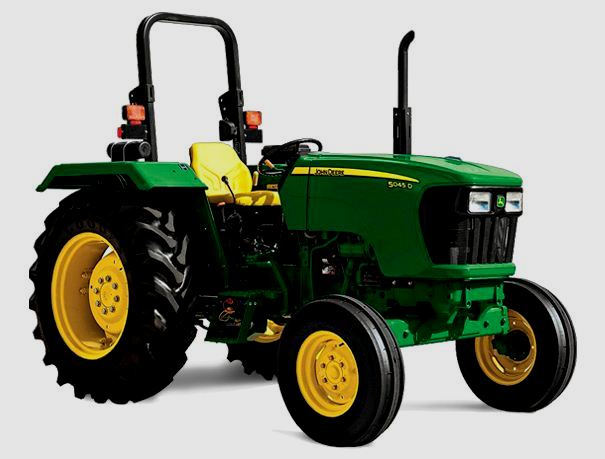 5045D
5045D 5050E
5050E 5060E
5060E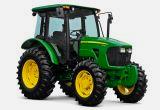 5078E
5078E